How to use the MorphoNet Website
Account creation
 In order to create your account on MorphoNet Website , please click on the following icon in the top right menu (account icon)
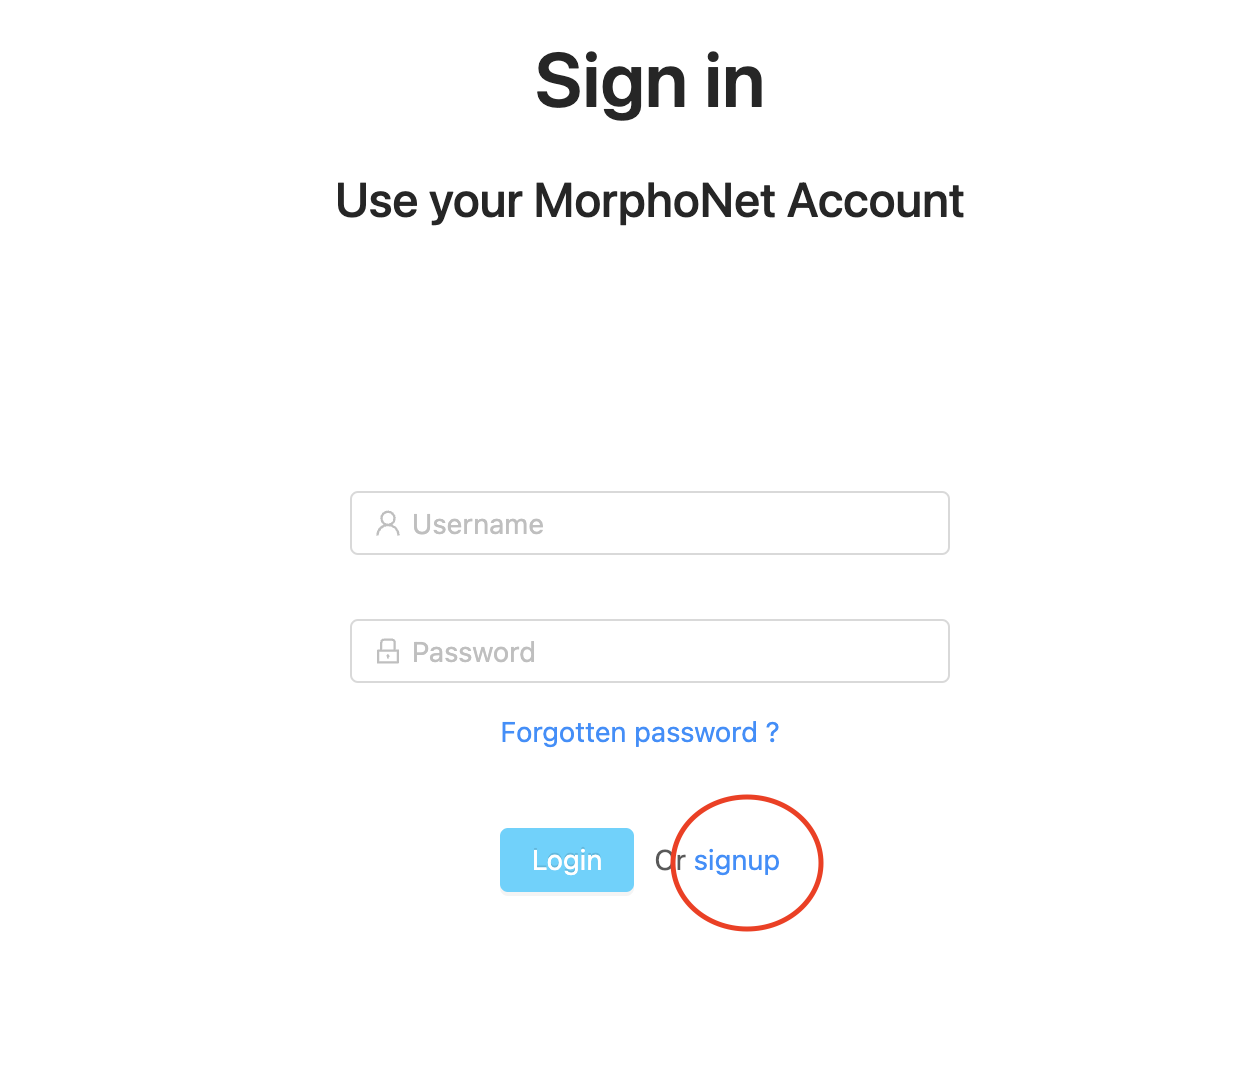 You will than be prompted to log in to your MorphoNet account. Find the signup text at the bottom of the log in panel (see below)
This button will redirect you to account creation form, with multiple fields. Here is an explanation for each field
| Form | Explanation |
|---|---|
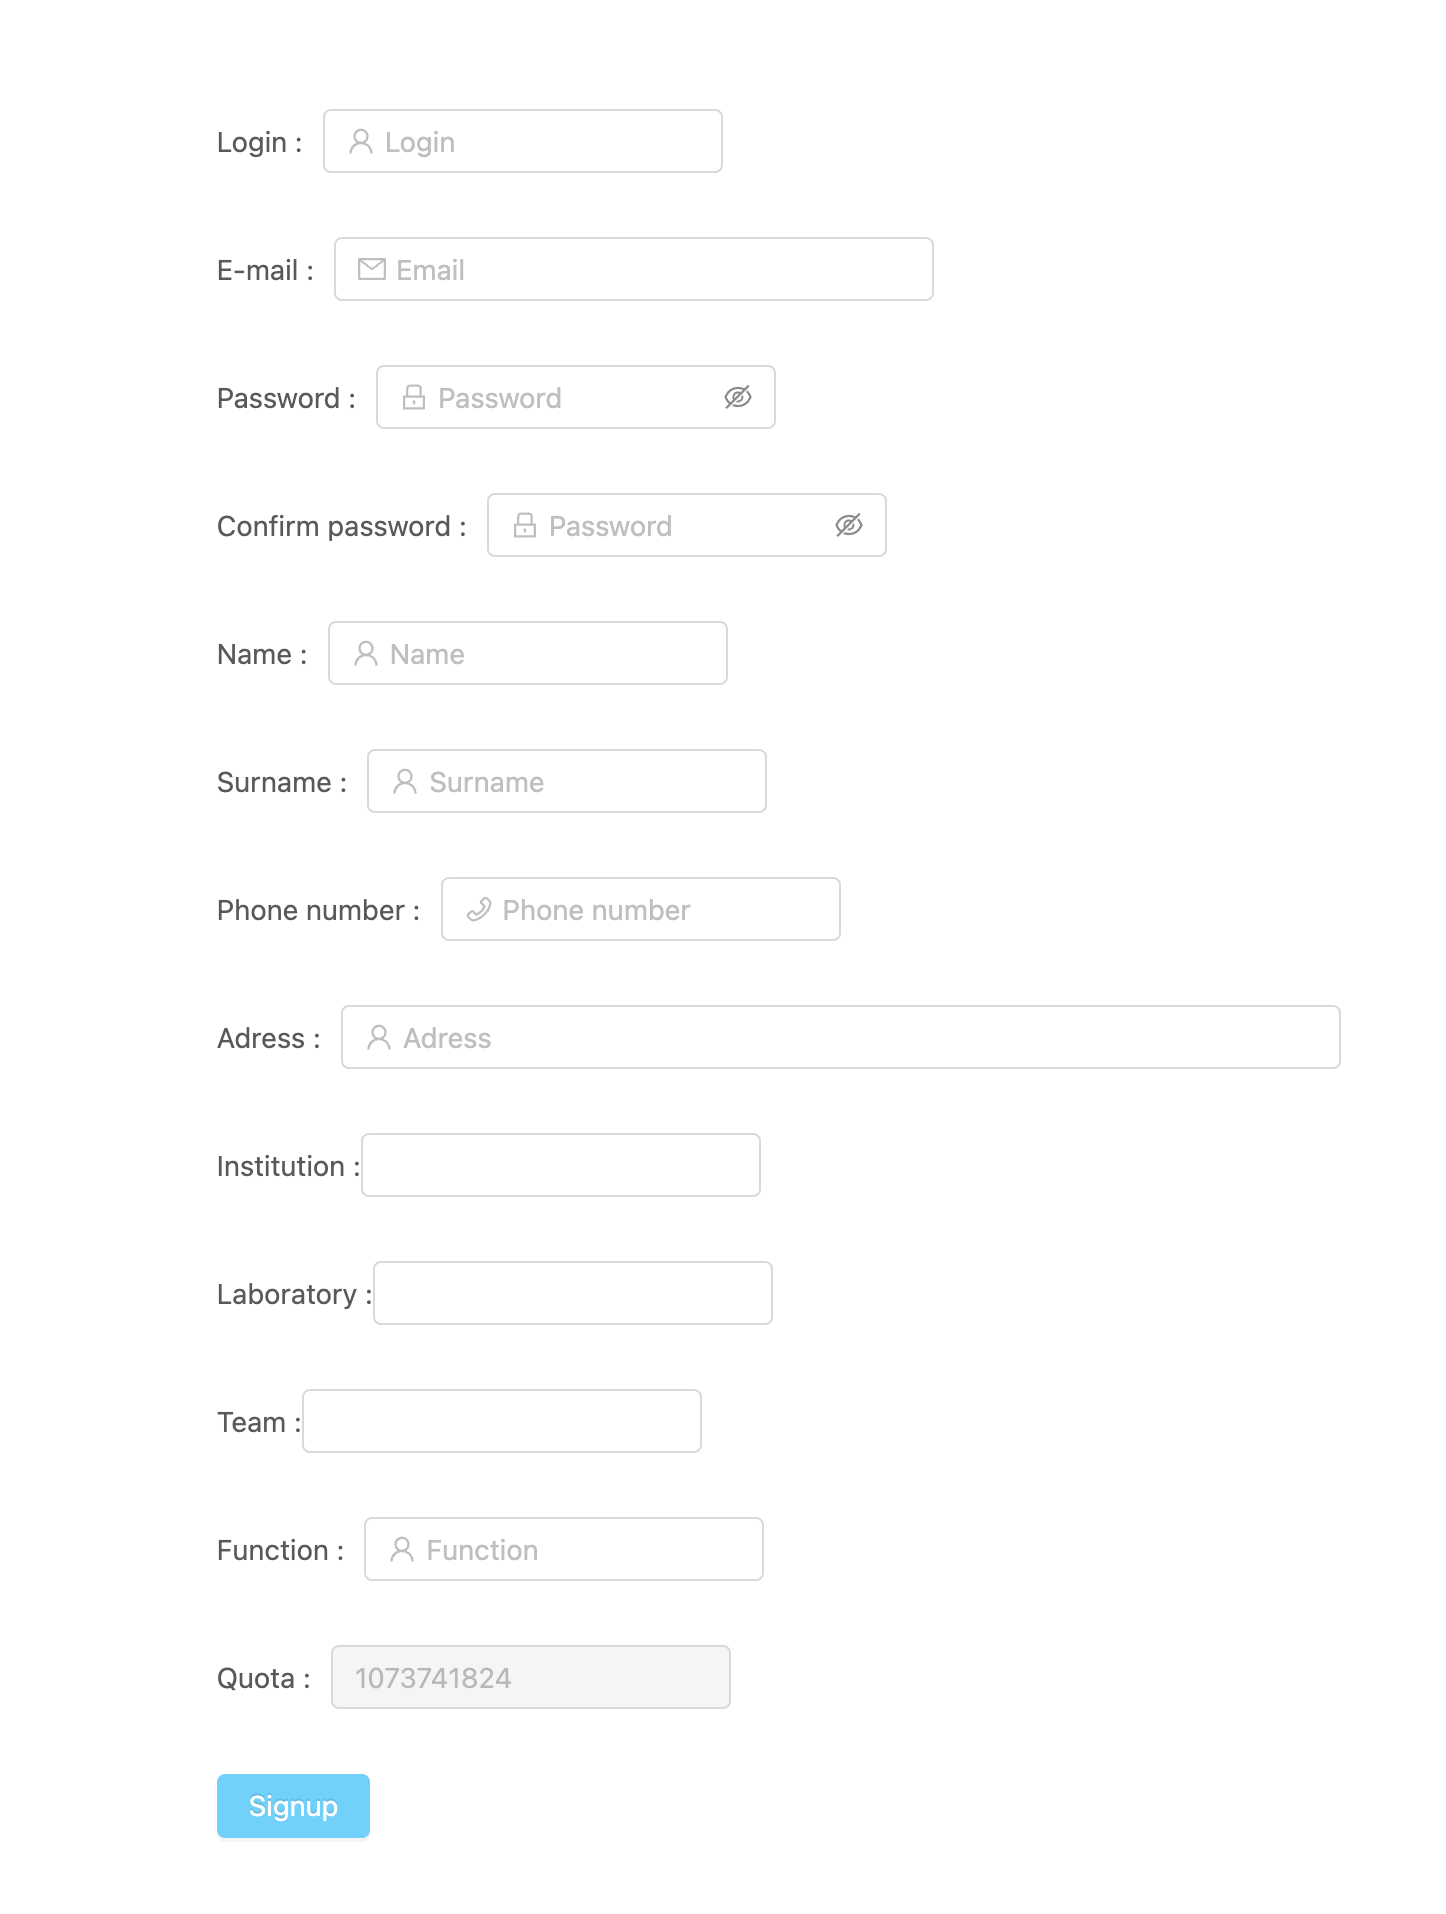 |
Login : your login on MorphoNet, has to be unique. It will be used to connect to your account E-mail : your email , it has to be unique. It will be needed to validate your account , please put a real email Password : your password Name : your name Surname : your surname Phone number : your phone number Adress : your adress, or your laboratory adress Institution : The institution you're working in/for Laboratory : The laboratory you're working for Team : Your working team Function : Your function or status Quota : Your data maximum quantity : fixed |
Clicking on signup will automatically verify that the fields are correctly filled, if not red errors texts will appear under the wrong fields.
If everything is correct, your account will be created but inactive. To activate your account , please follow the link sent by email by MorphoNet. The mail can take a few minutes to be delivered. If you still didn't receive the email , please contact us by sending an email to : contact@morphonet.org
Visualize your data
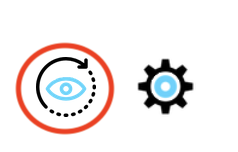
 You can visualize your data from the morphonet dataset page. As soon as you enter the website, the 3D visualization tool will start loading in background. You can follow the visualization loading with this icon.
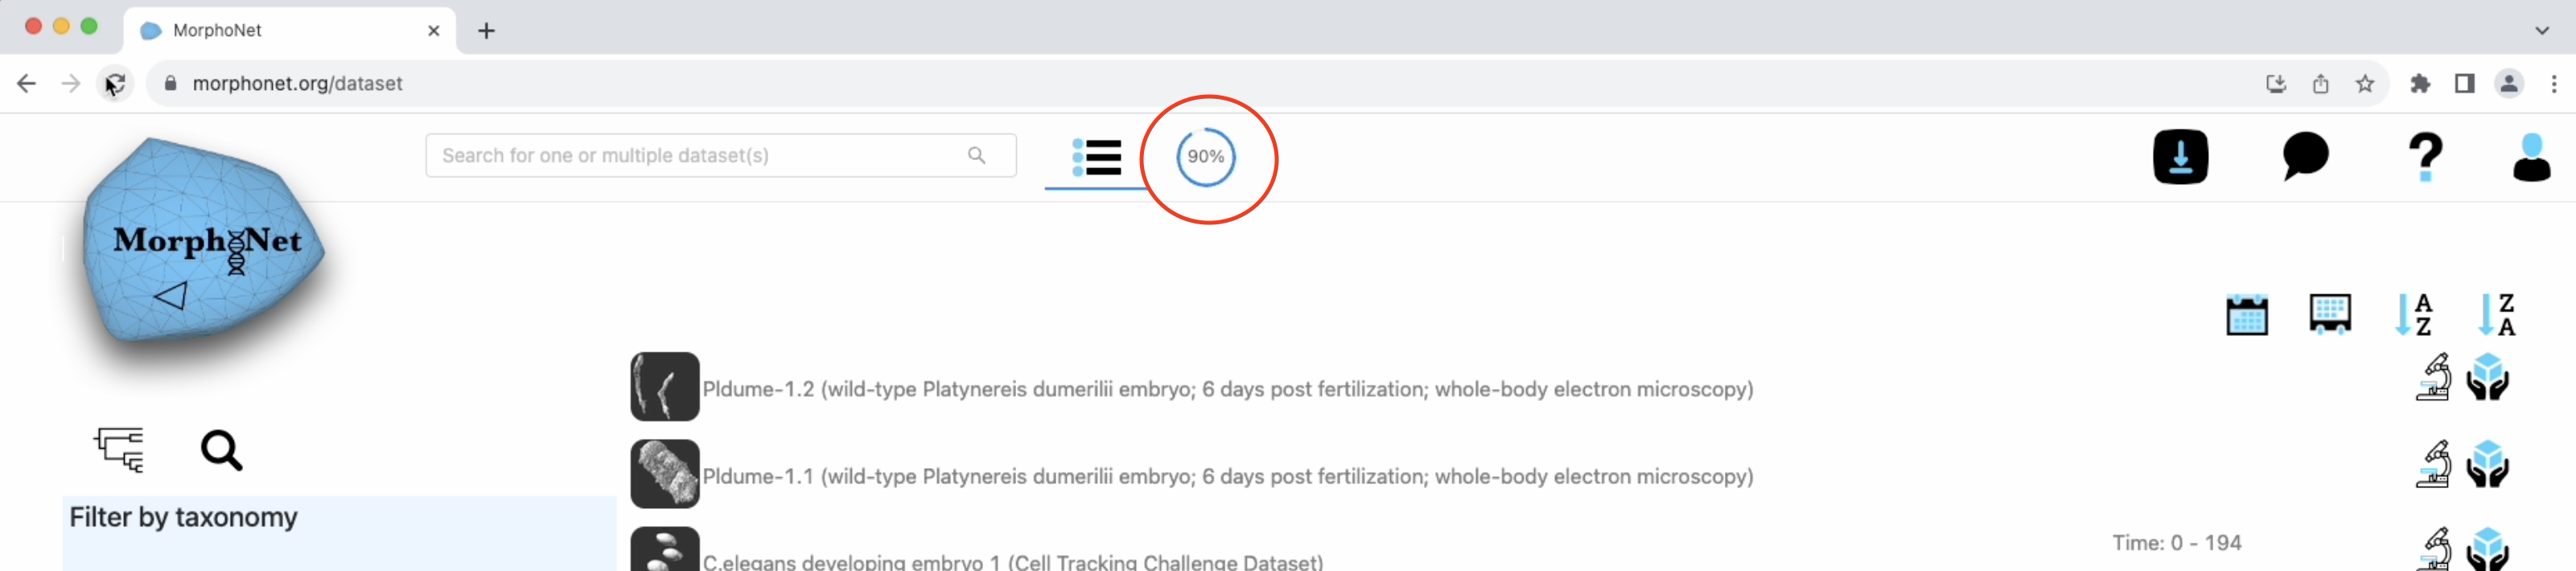
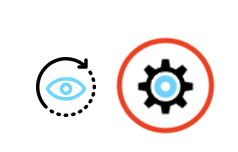
The percentage of loading step will appear inside the circle. When it is fully loaded, it will look like this :
MorphoNet is now fully ready for visualization!
You can than search for the dataset you want to visualize in the list and than click on the following icon to load it in the visualizer.
 or
or

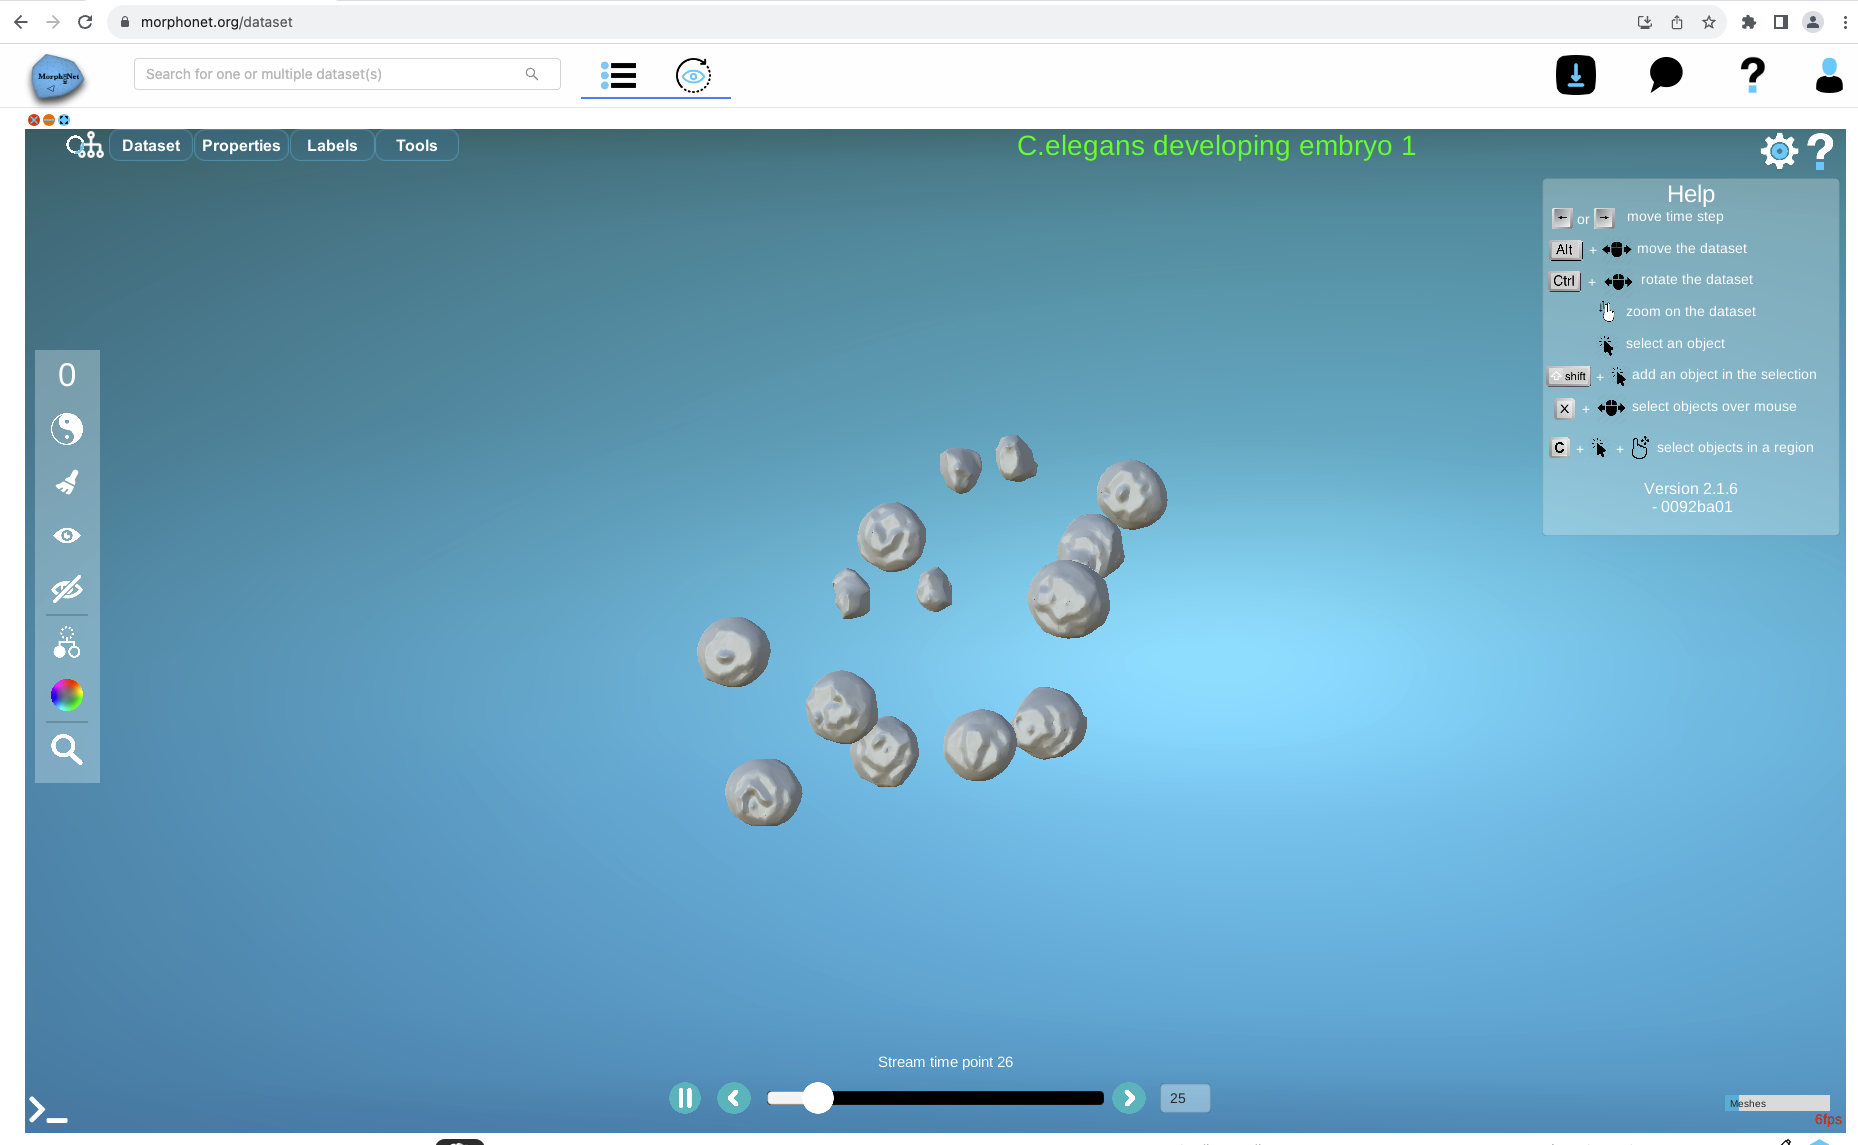 Your dataset should be loading in the blue visualizer window
You can click on the "eye" like icon in the top menu to hide or show the visualizer from the website. Even if it hidden , the visualization will continue (including the loading of the data).
Manage your dataset
Dataset metadata
Clicking on your dataset name in the list will redirect you to multiple pages to manage your dataset. The first one, open by default will give you the basic information for your dataset
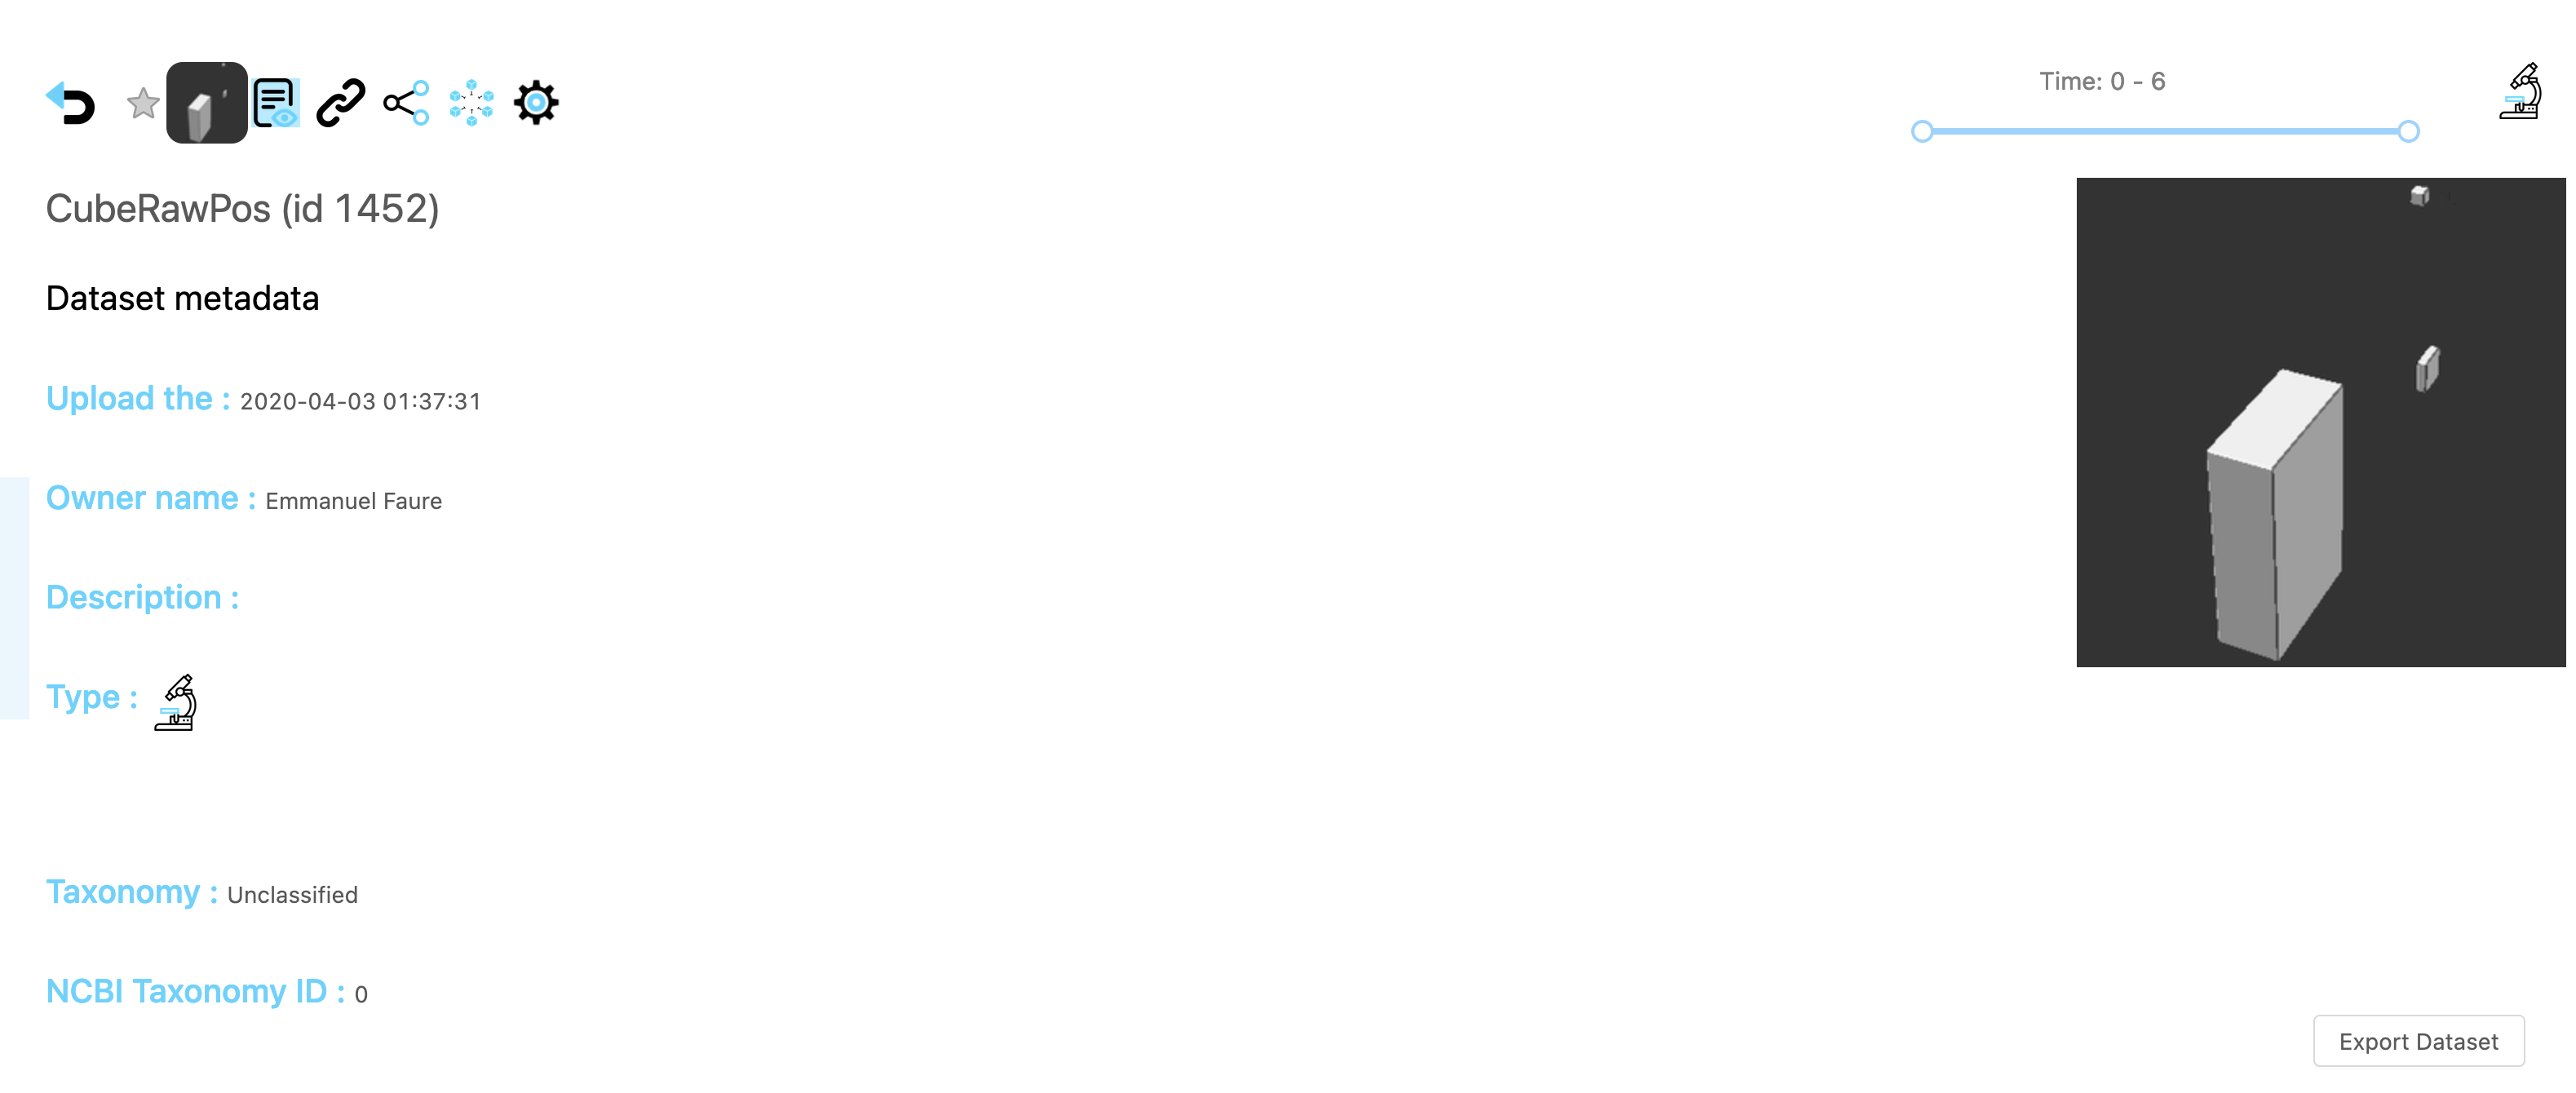
You will be able to see :
- Who and when the dataset has been uploaded
- The dataset description and type (observated, drawn or simulated)
- Biological metadata if they exist (NCBI taxonomy id , time post fertilization, and delta time)
- Different links added to the dataset (publications, ...)
- The MorphoNet tags linked to the dataset
- The group / study linked to your dataset
This webpage is reachable by your adress bar , typing :
https://morphonet.org/dataset/your_dataset_unique_identifier
You will be able to interact with your dataset using this toolbar
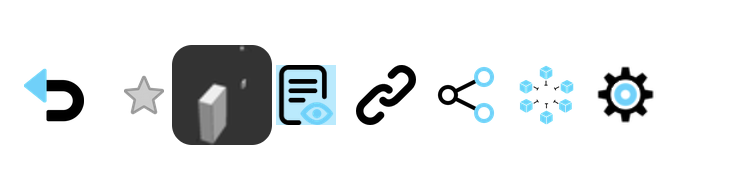 We explained the first one before , let's explain each
Sessions
 Sessions are links generated by MorphoNet , where user can share only a portion of the dataset using a link. With this system , you are able to integrate your 3D data in papers, in documents , giving the reader a better interaction than a simple image or video
Creating a session
 To create a session, just click the + button
It will redirect you to a new page where you can setup the session itself.
| Form | Explanation |
| --- | --- |
|
To create a session, just click the + button
It will redirect you to a new page where you can setup the session itself.
| Form | Explanation |
| --- | --- |
| 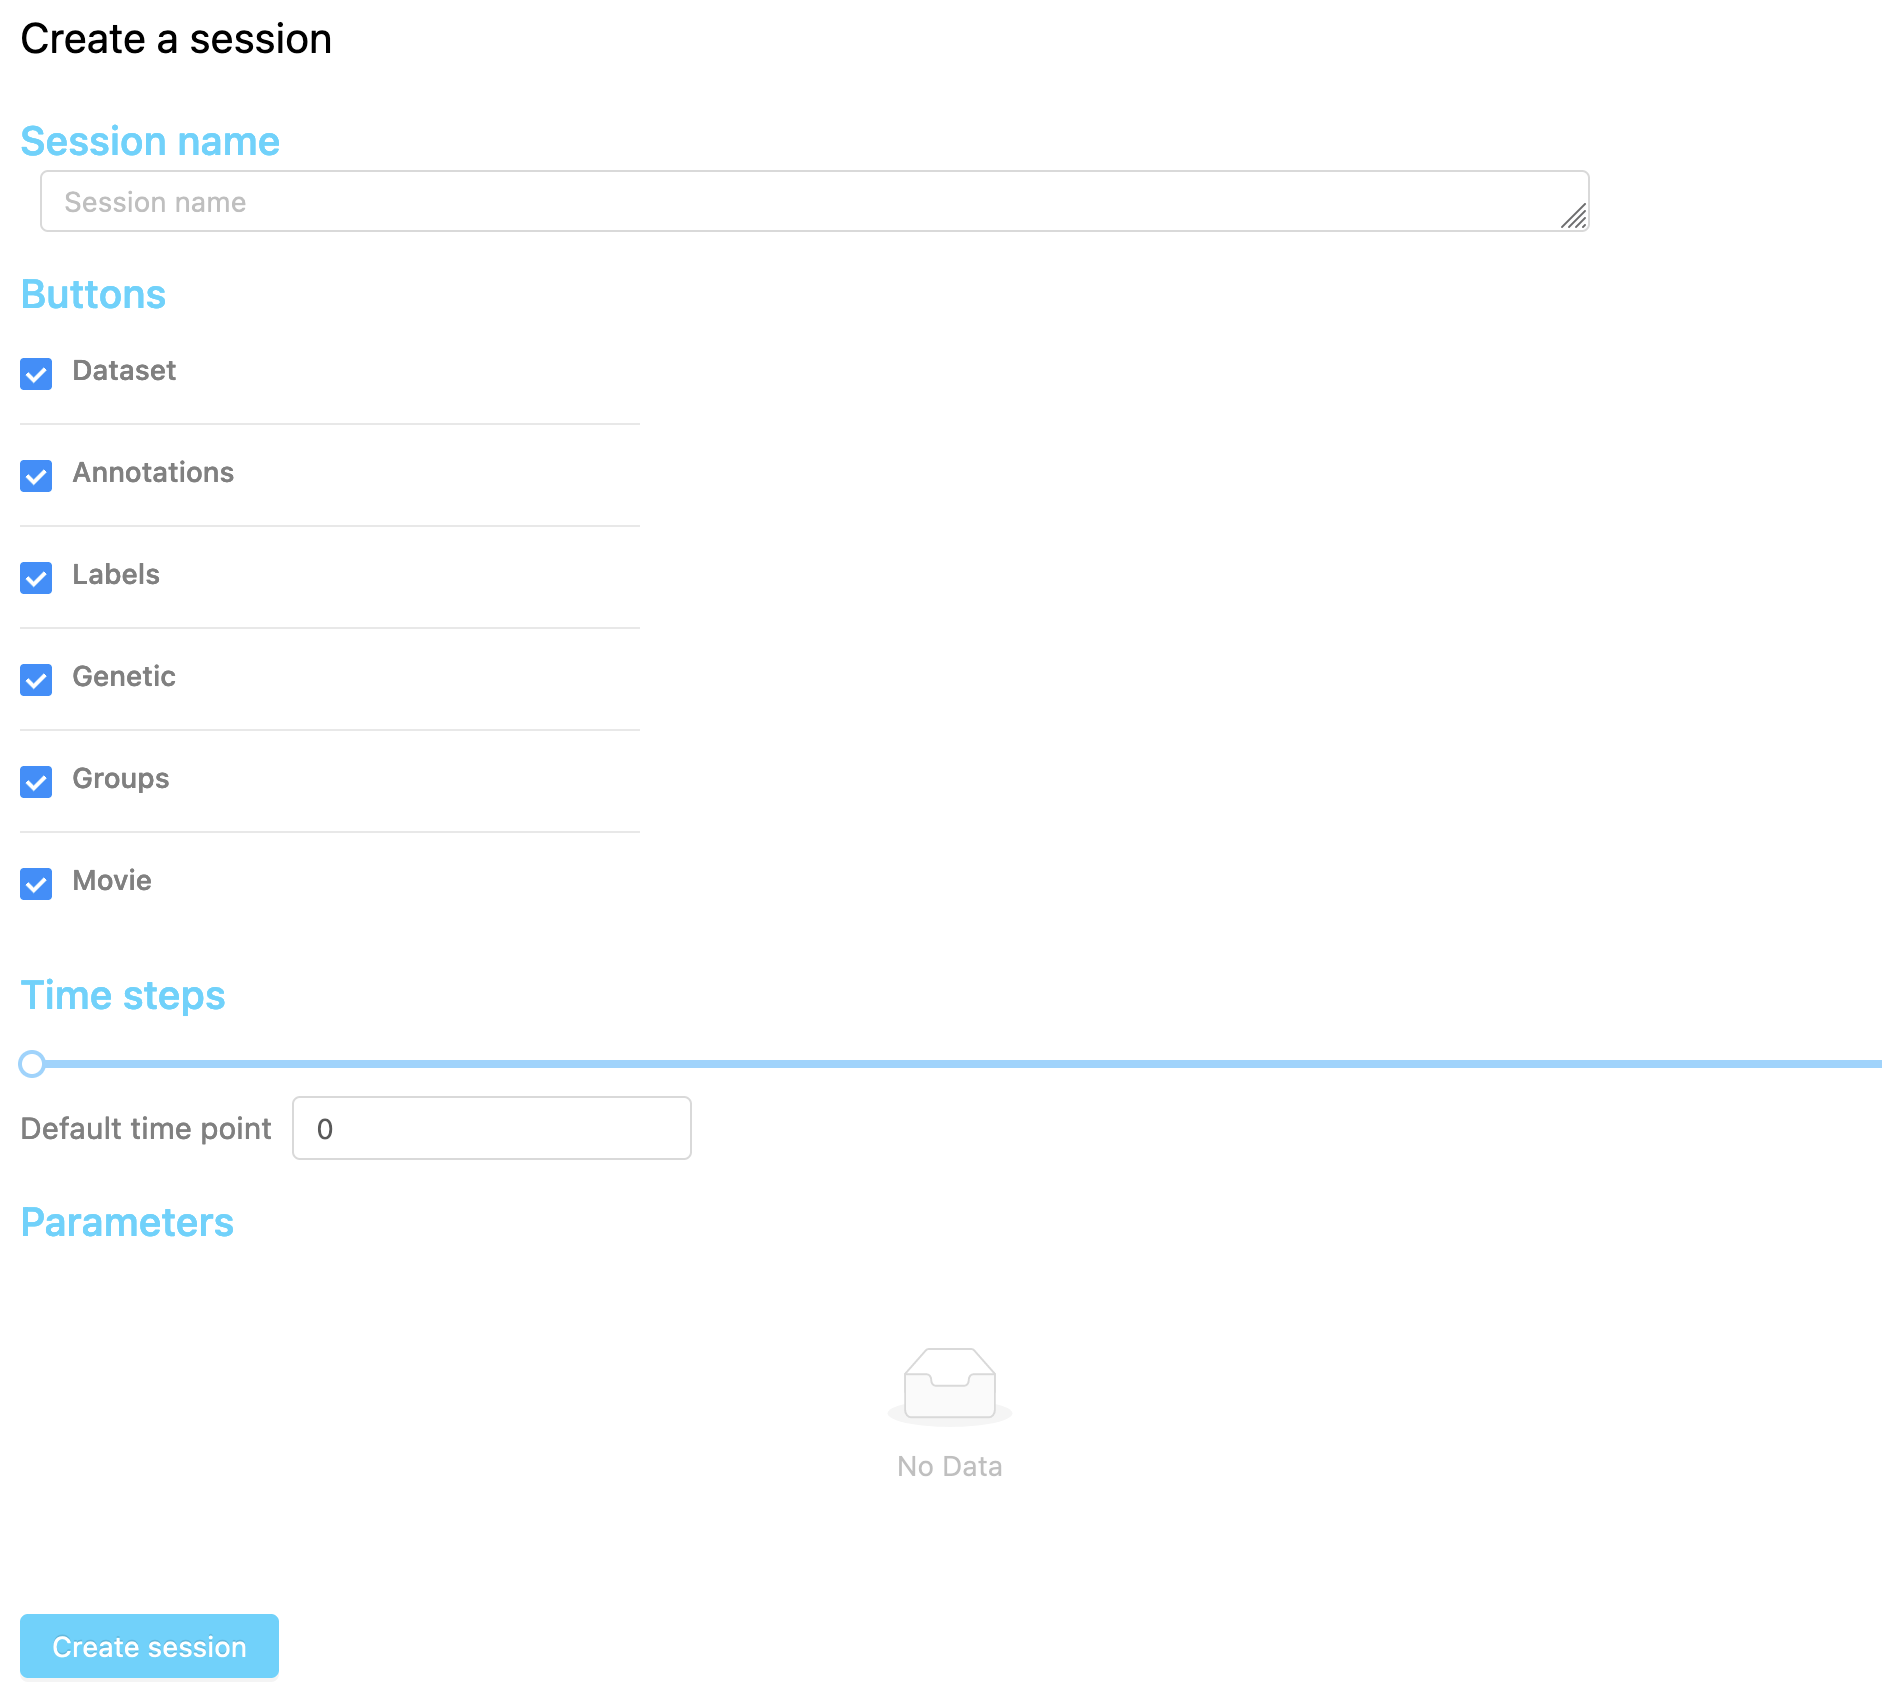 | Name : Name of the session , will be used to list them but not in the link
Buttons : Uncheking a specific button will prevent the corresponding menu to appear in the viewer
Time steps : Reduce the range of time points loaded by the session (for example to create short versions)
Quality : Overwrite the default loading quality of the 3D meshes displayed in the visualizer
Parameters :For each property listed by name, specify if it should be : shown in the session, hidden , loaded by default or applied by default |
Visualizing a session
You have 2 ways to visualize your session ,
either by clicking on the eye icon corresponding to your session in the list
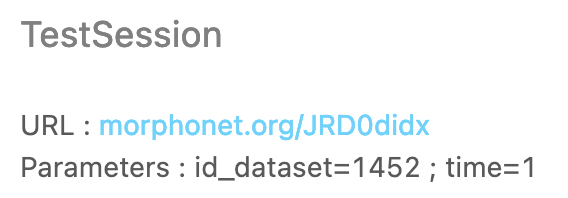
or by using the link found here
Share your session
To share your session, you can share the link to someone, or write in a paper. Any user clicking on it will be redirected to MorphoNet 3D visualizer , and will be able to look at your data, without being allowed to modify it if it's not connected and with the corresponding rights
Update your session
 To update your session, click on the parameters icon in the list of sessions , and you will be linked to the update page
| Form | Explanation |
|---|---|
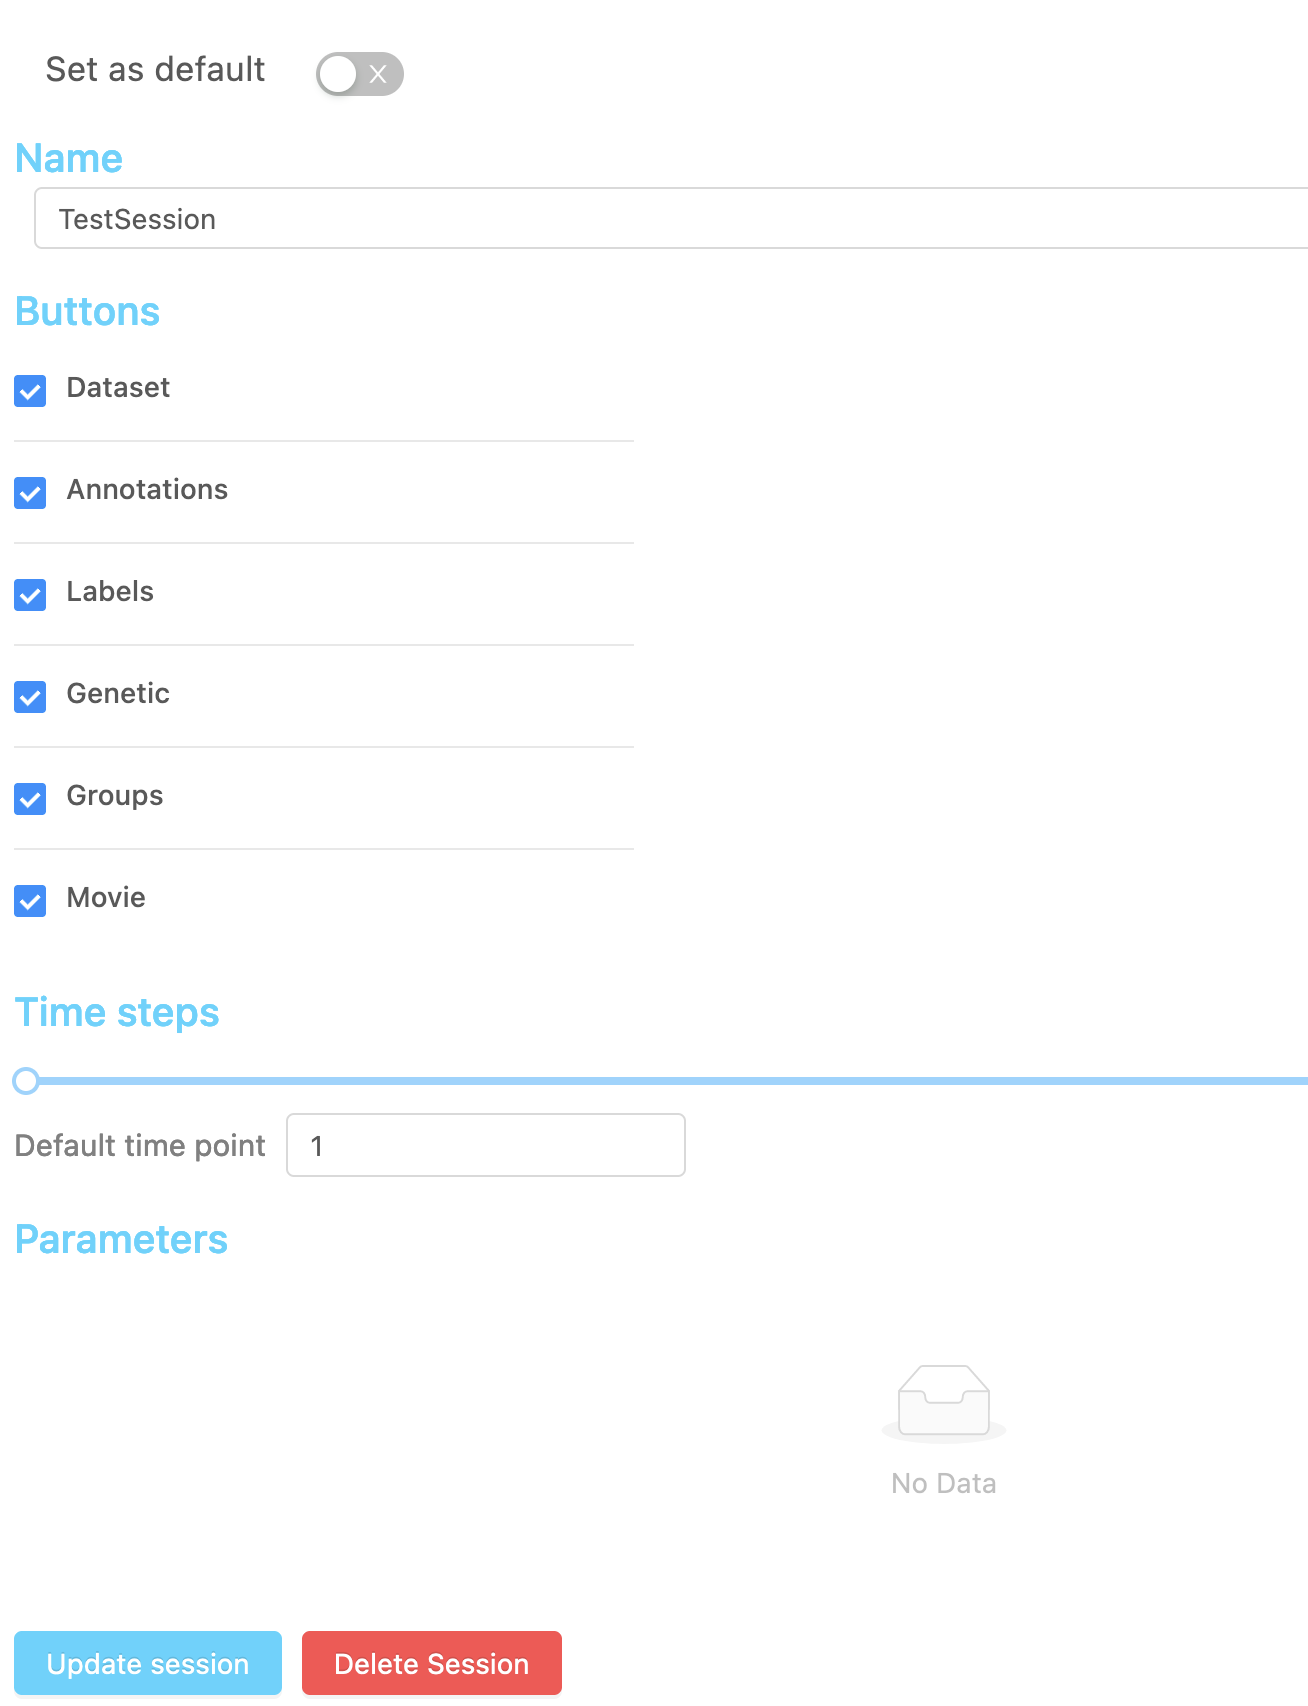 |
Default : If set to on , this session will be loaded by default when visualizing the dataset by the list Name : Name of the session , will be used to list them but not in the link Buttons : Uncheking a specific button will prevent the corresponding menu to appear in the viewer Time steps : Reduce the range of time points loaded by the session (for example to create short versions) Quality : Overwrite the default loading quality of the 3D meshes displayed in the visualizer Parameters :For each property listed by name, specify if it should be : shown in the session, hidden , loaded by default or applied by default Than click on the update session button |
Share a dataset
 If you have the rights you will be able to share you dataset by click on the share icon
Share with public :
 Your dataset will be come visible by anyone, including non registered users, but only managers and yourself will be allowed to update its data.
Share with groups :
image list of groups
You can share with each group , giving group users the status of manager, meaning they can update your dataset , or reader, meaning they can access to visualize it but not modify its data
Share with user :
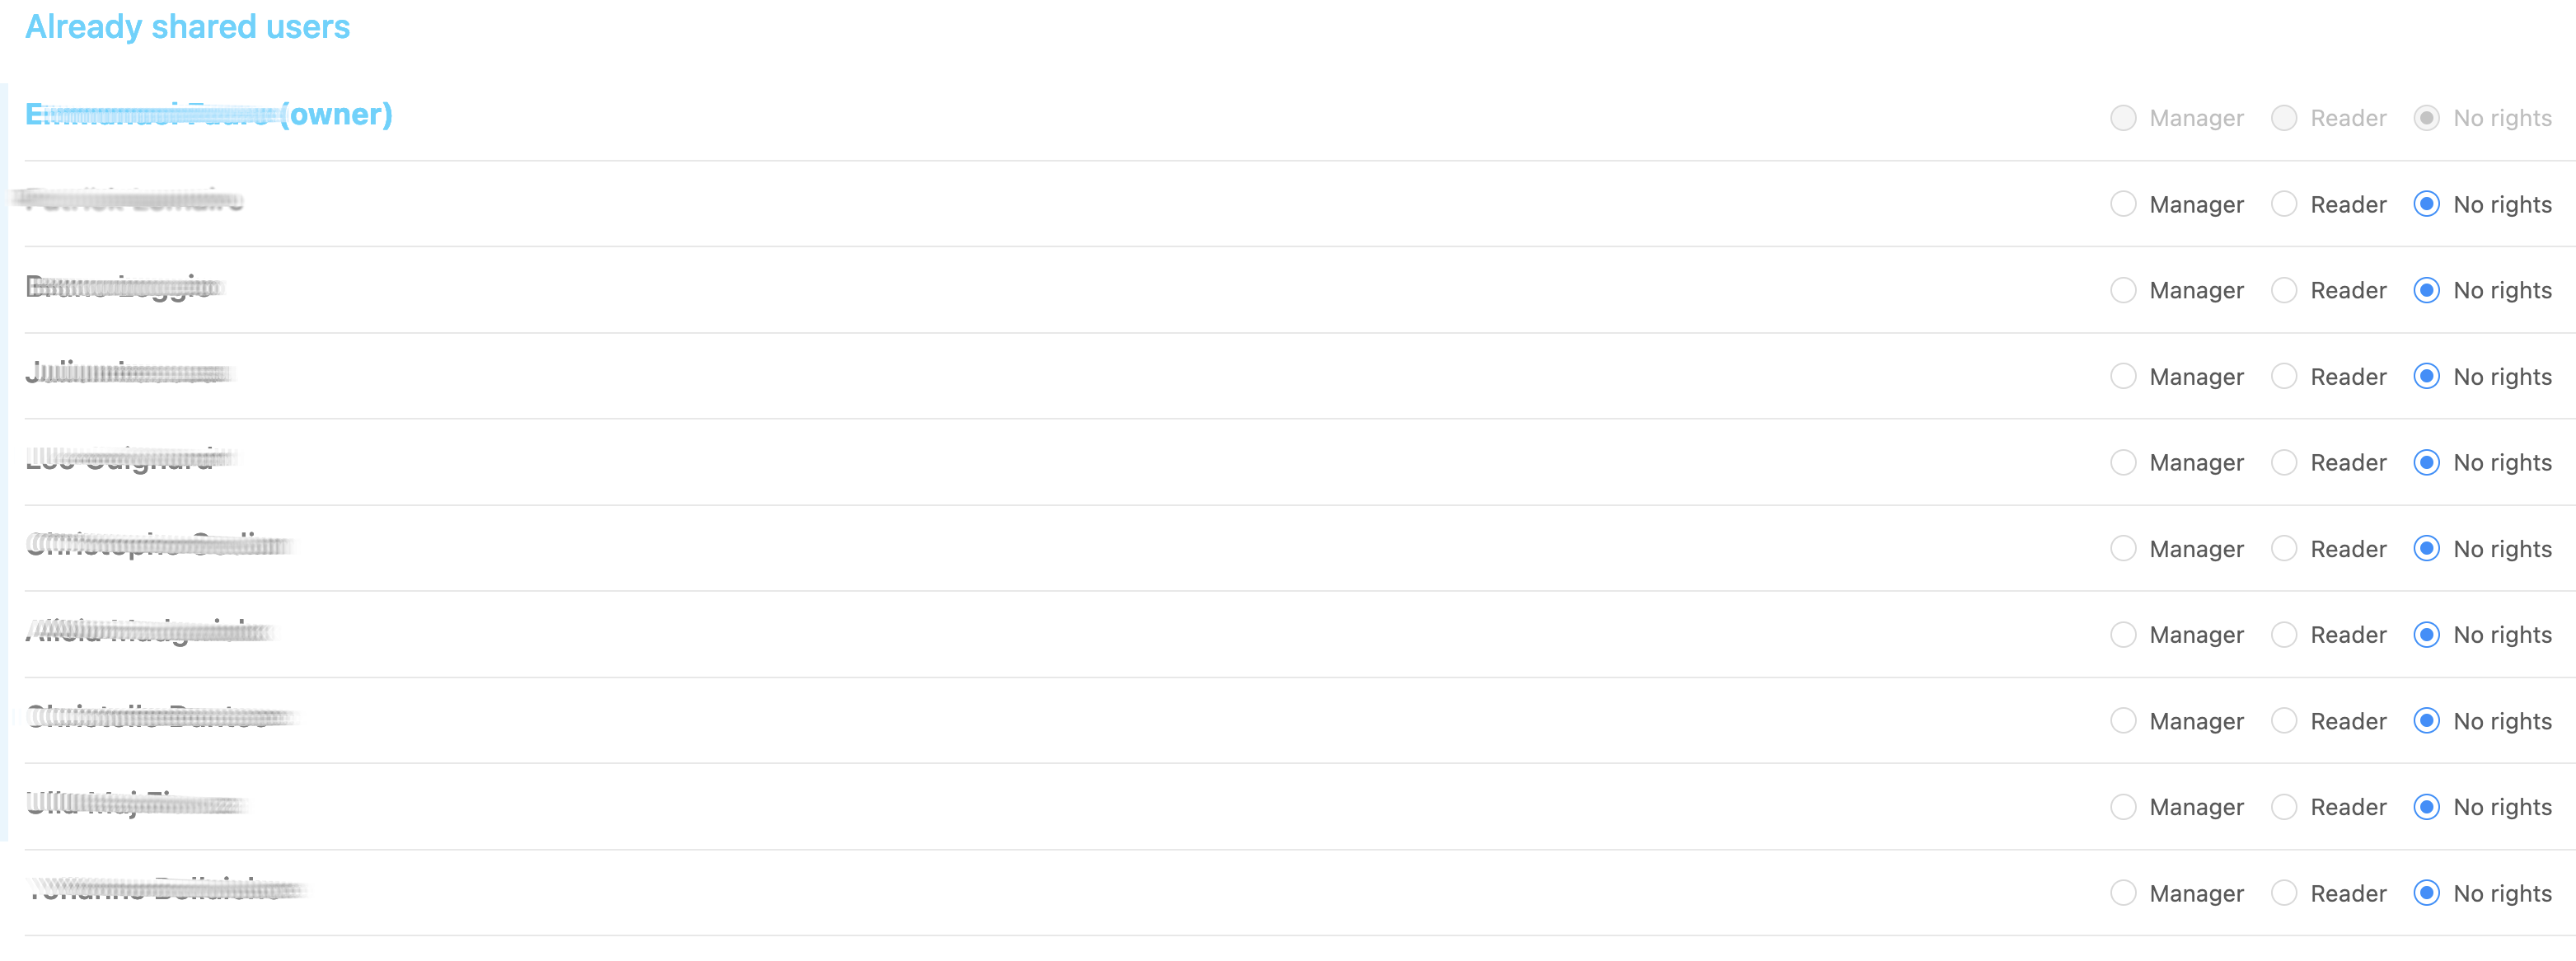 You can share with each user you already interacted with , giving users the status of manager, meaning they can update your dataset , or reader, meaning they can access to visualize it but not modify its data
Share with external user :
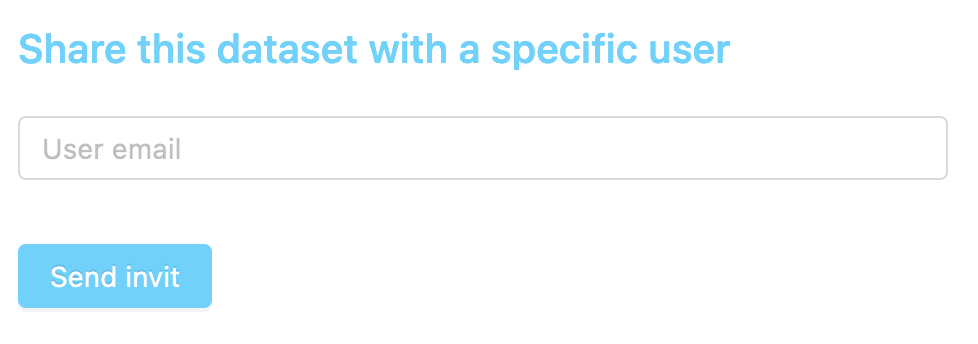 You can share with someone with its email. If this person is registered on MorphoNet , this person will be able to access it after accepting the invitation , if not they will be invited to register on MorphoNet.
Manage the properties
 This subsection will allow to update the properties attached to your dataset. Properties are new informations attached to the different objects inside it.
Create a property
 To create a property , first click on the + button
It will redirect you to the property creation page
| Form | Explanation |
|---|---|
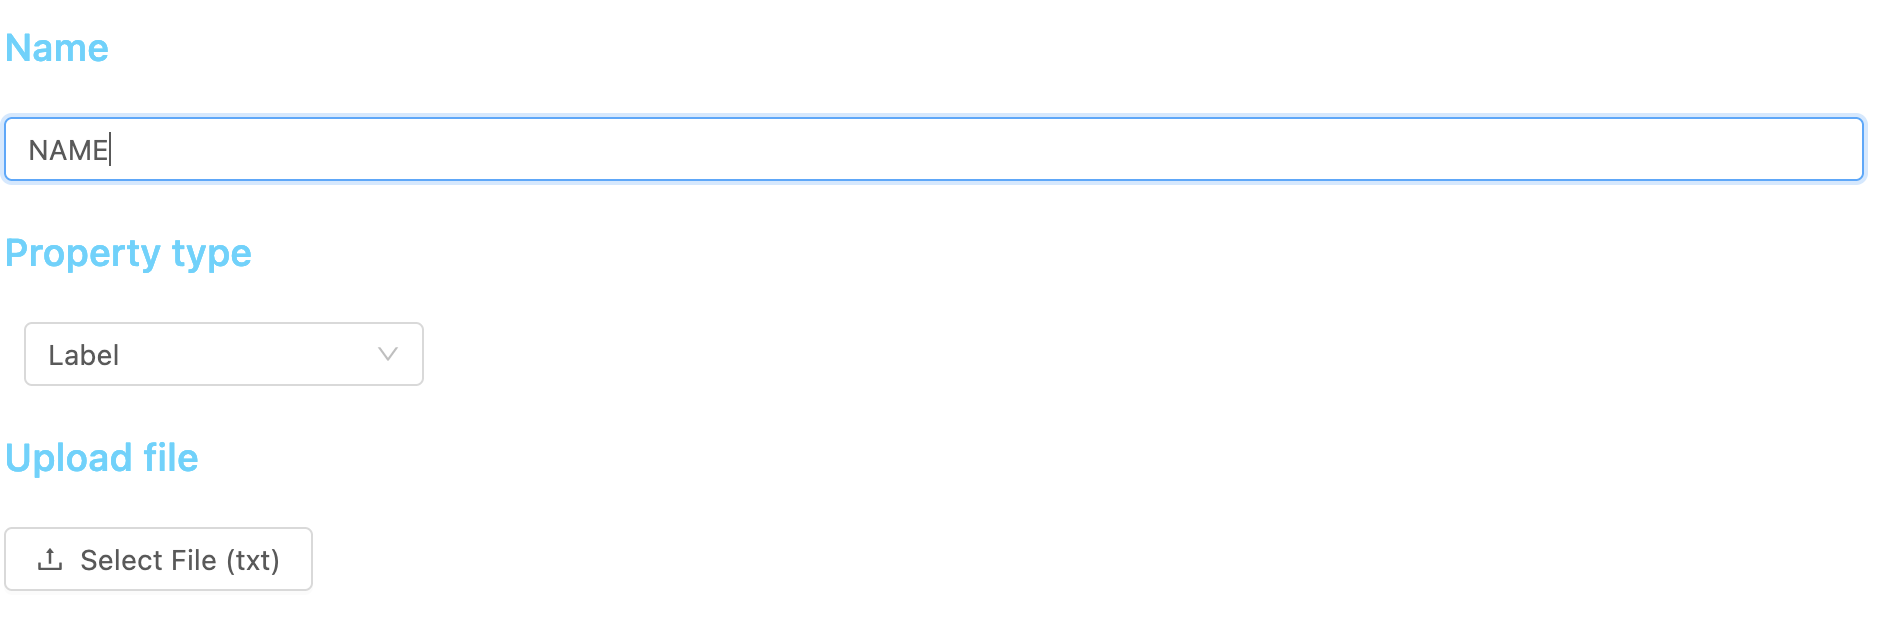 |
Name : Name of the property Type : Type of the property : - Label : ability to link an integer to an object. Each integer is visualized by a color in the visualizer - Number : ability to link any numerics to objects, and visualize as a colormap - Text : Link a text to objects - Others : others formats exist in MorphoNet properties, follow this link to see them https://morphonet.org/help_format Upload file : Select a file in MorphoNet properties format on your disk to upload |
After filling the different fields , click on Upload
Rename a property
 To rename a property in the list , you can click on the "pen" button near the name
And you can than fill the text field with the new name and click the green check

Delete a property
 To delete a property , you can click on the "bin" icon on the right of your info in the list
And than click the green check to validate
Share a property
Sharing a property means that any one having access to the dataset will access this property with the same rights than its datasets rights (manager will be able to update the property , reader only read the values)
If the dataset is public , sharing a property makes it public for visualization
To share a property , click on the share icon
| Shared | Not shared |
|---|---|
 |
 |
To update datasets metadata (not the 3D objects or properties) , click on the update icon
You will be redirected to a page with multiple field corresponding to the dataset , that you can edit
| Form | Explanation |
| --- | --- |
| 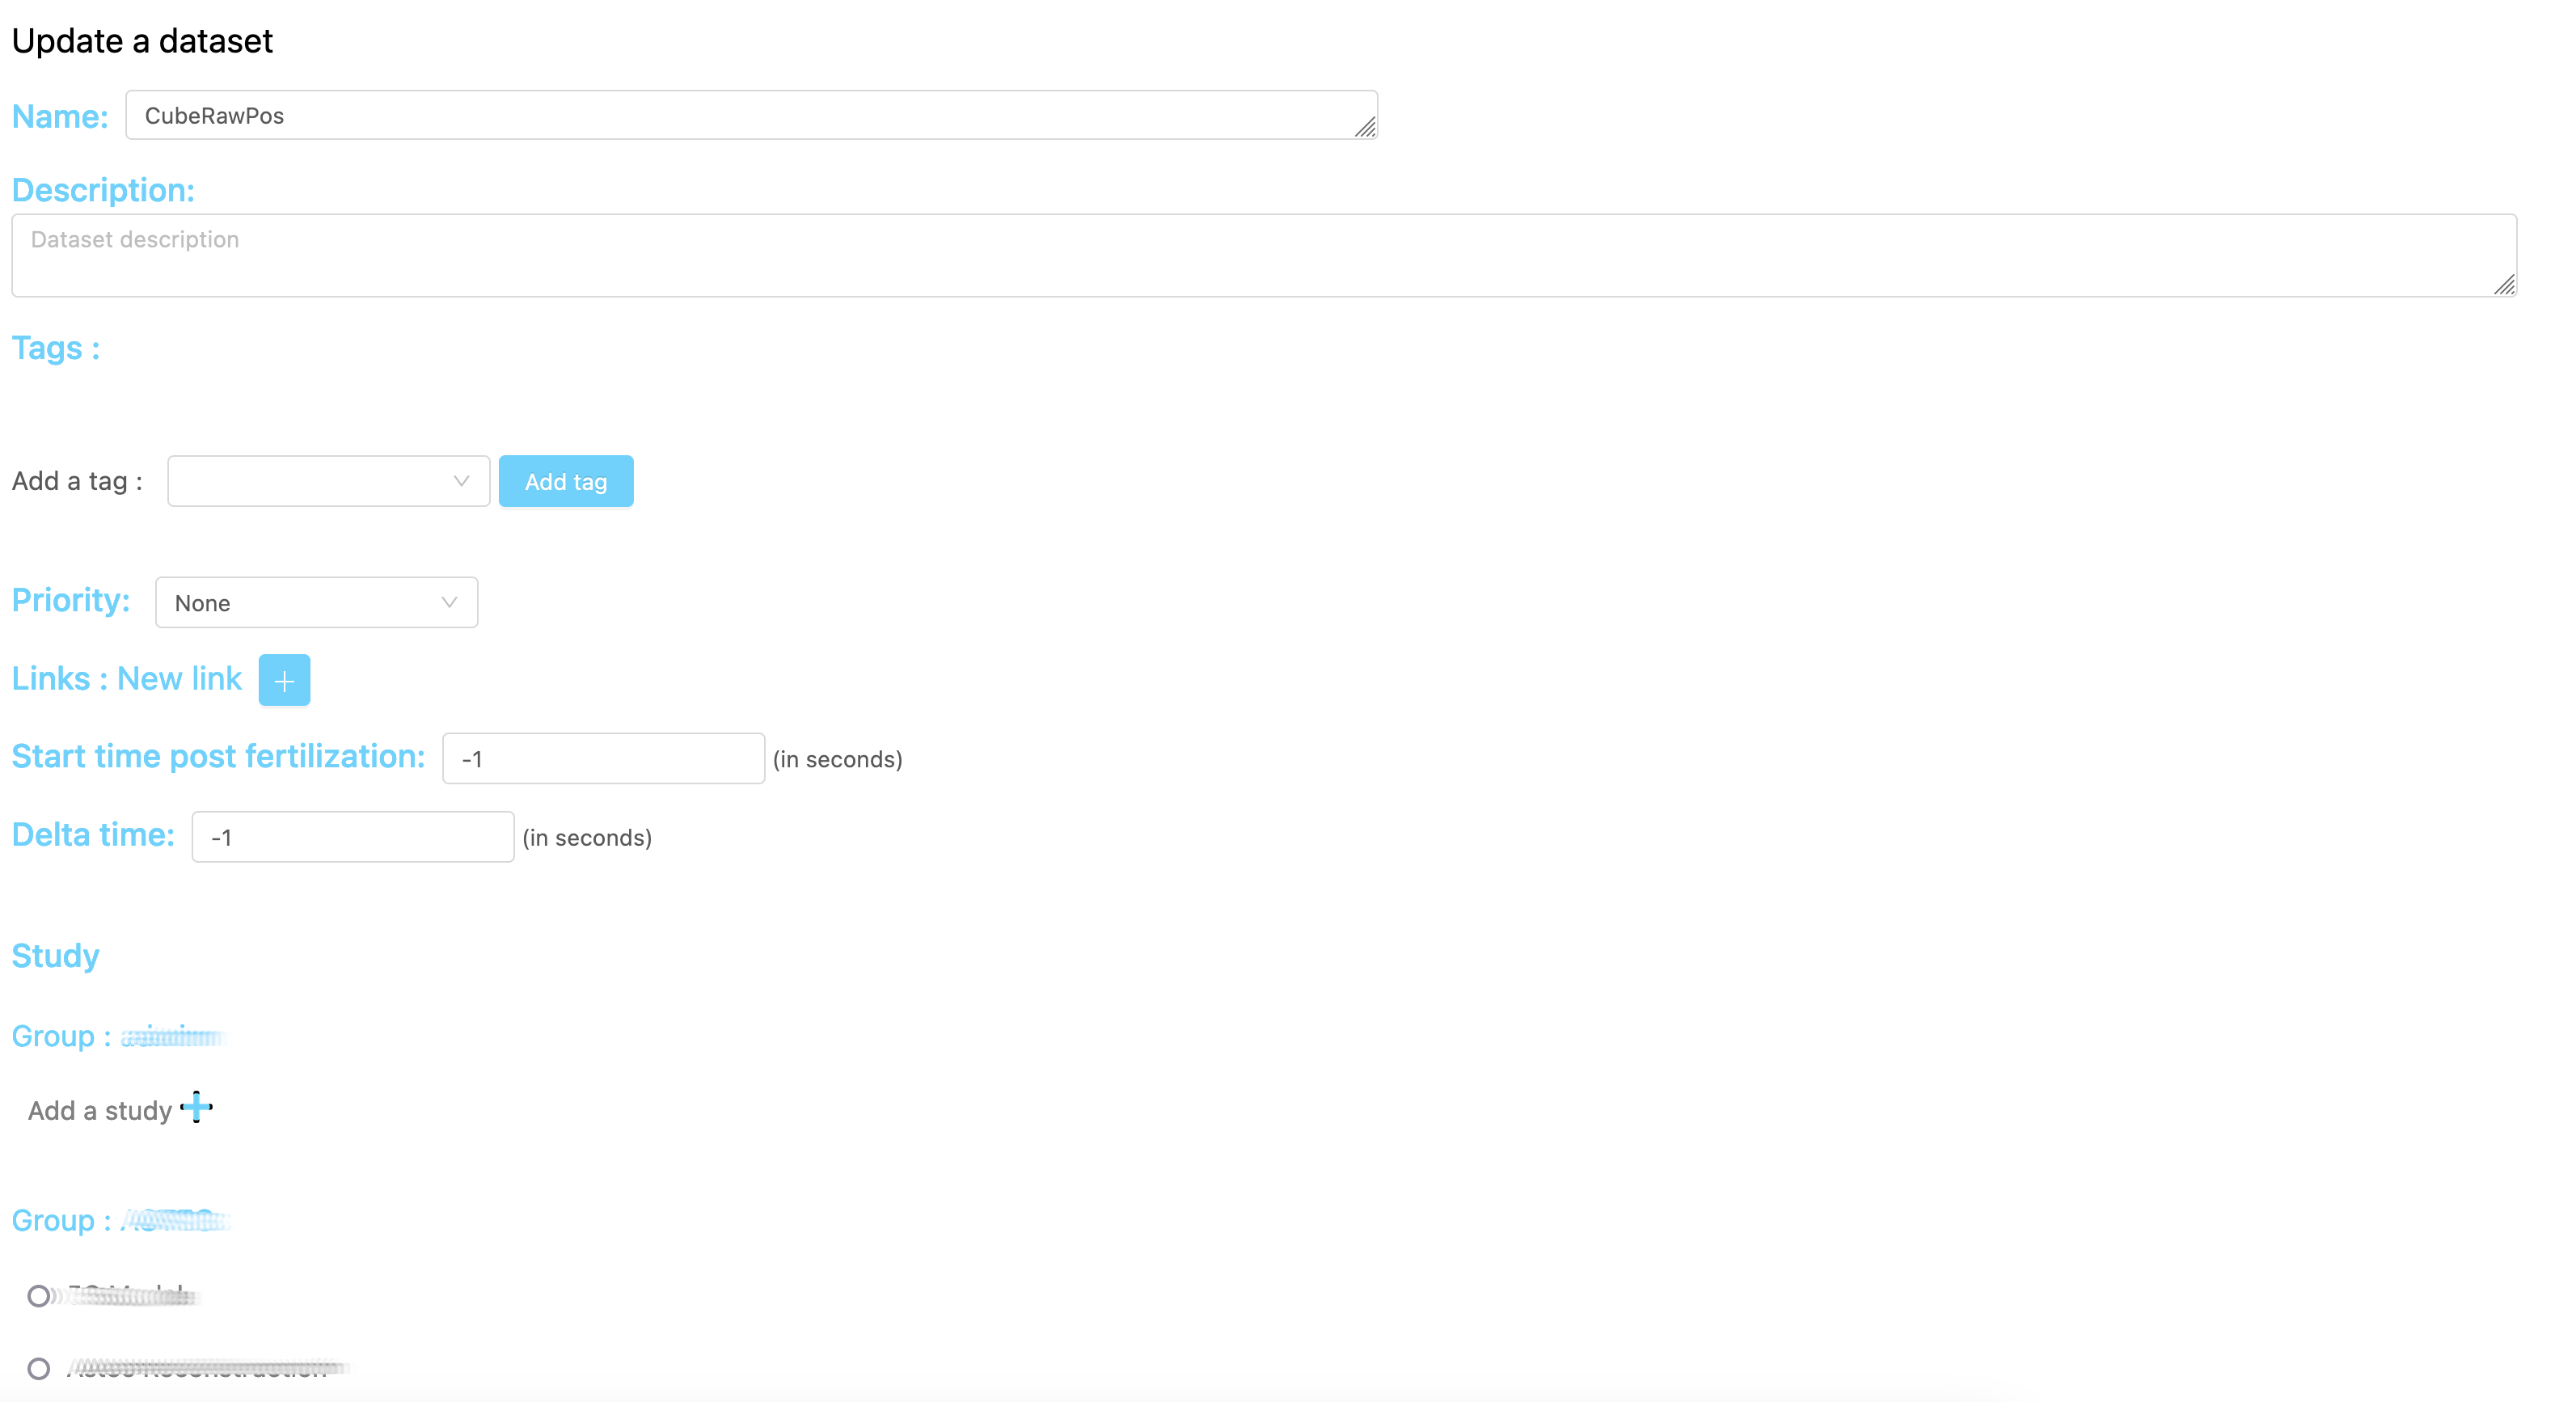
 | Name : Name of the dataset
Description : Description of the dataset
Tags : List of MorphoNet tags
Priority : Priority associated to the dataset for collaboration
Links : Links you can add to the dataset to add external informations (papers ... )
Start time post fertilization : For biological data, time in seconds of the first time point after fertilization
Delta time : Delta time in seconds between 2 time points
Study : Link your dataset to a study to collaborate with subgroups of users
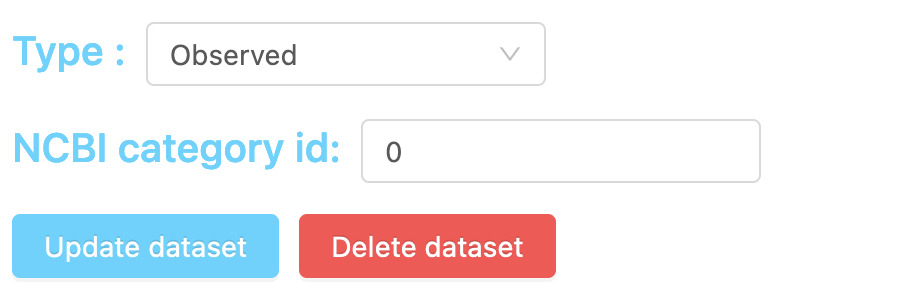
Type : Type of the dataset :
- Observated : type adapted to imaged data (scientific , natural , ... )
- Drawn : type adapted to drawn data (manually generated)
- Simulation : type adapted to data automatically generated
NCBI category ID : For biological data, specie indentifier in NCBI taxonomy database |
After updating the different field you want, you can click on update
To delete a dataset , click on the update icon
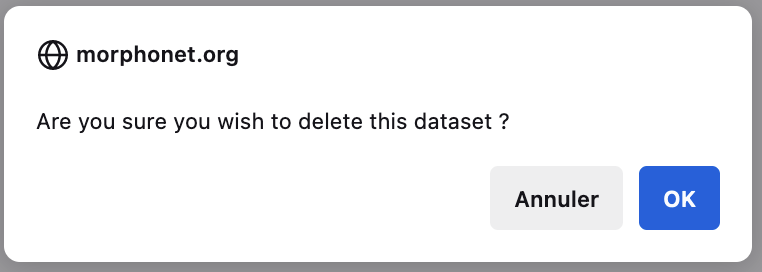
and at the bottom of the new page, click on delete dataset, and than confirm
After being deleted , the dataset will be moved to the bin for 30 days, and than will be erased completely after this time. You can restore it from the bin here : https://morphonet.org/userbin
Export a dataset
When you are the owner of a dataset on MorphoNet, you will be able to export the complete dataset as an archive, including properties and metadata.
You have to click this button, in the dataset description page
*button for export*
The export will take some time to compute, please do not leave the page until the download start automatically.
Later : you will be able to filter the data you want to export
Create a dataset
To be able to create a dataset, multiple choices are possible :
#### From the upload page
This choice will be used if you already have the 3D object for a dataset of one time point. Head to the dataset webpage , and than click on the upload button
 and than click on the upload button
You will be redirected to the upload page
| Form | Explanation |
| --- | --- |
|
and than click on the upload button
You will be redirected to the upload page
| Form | Explanation |
| --- | --- |
| 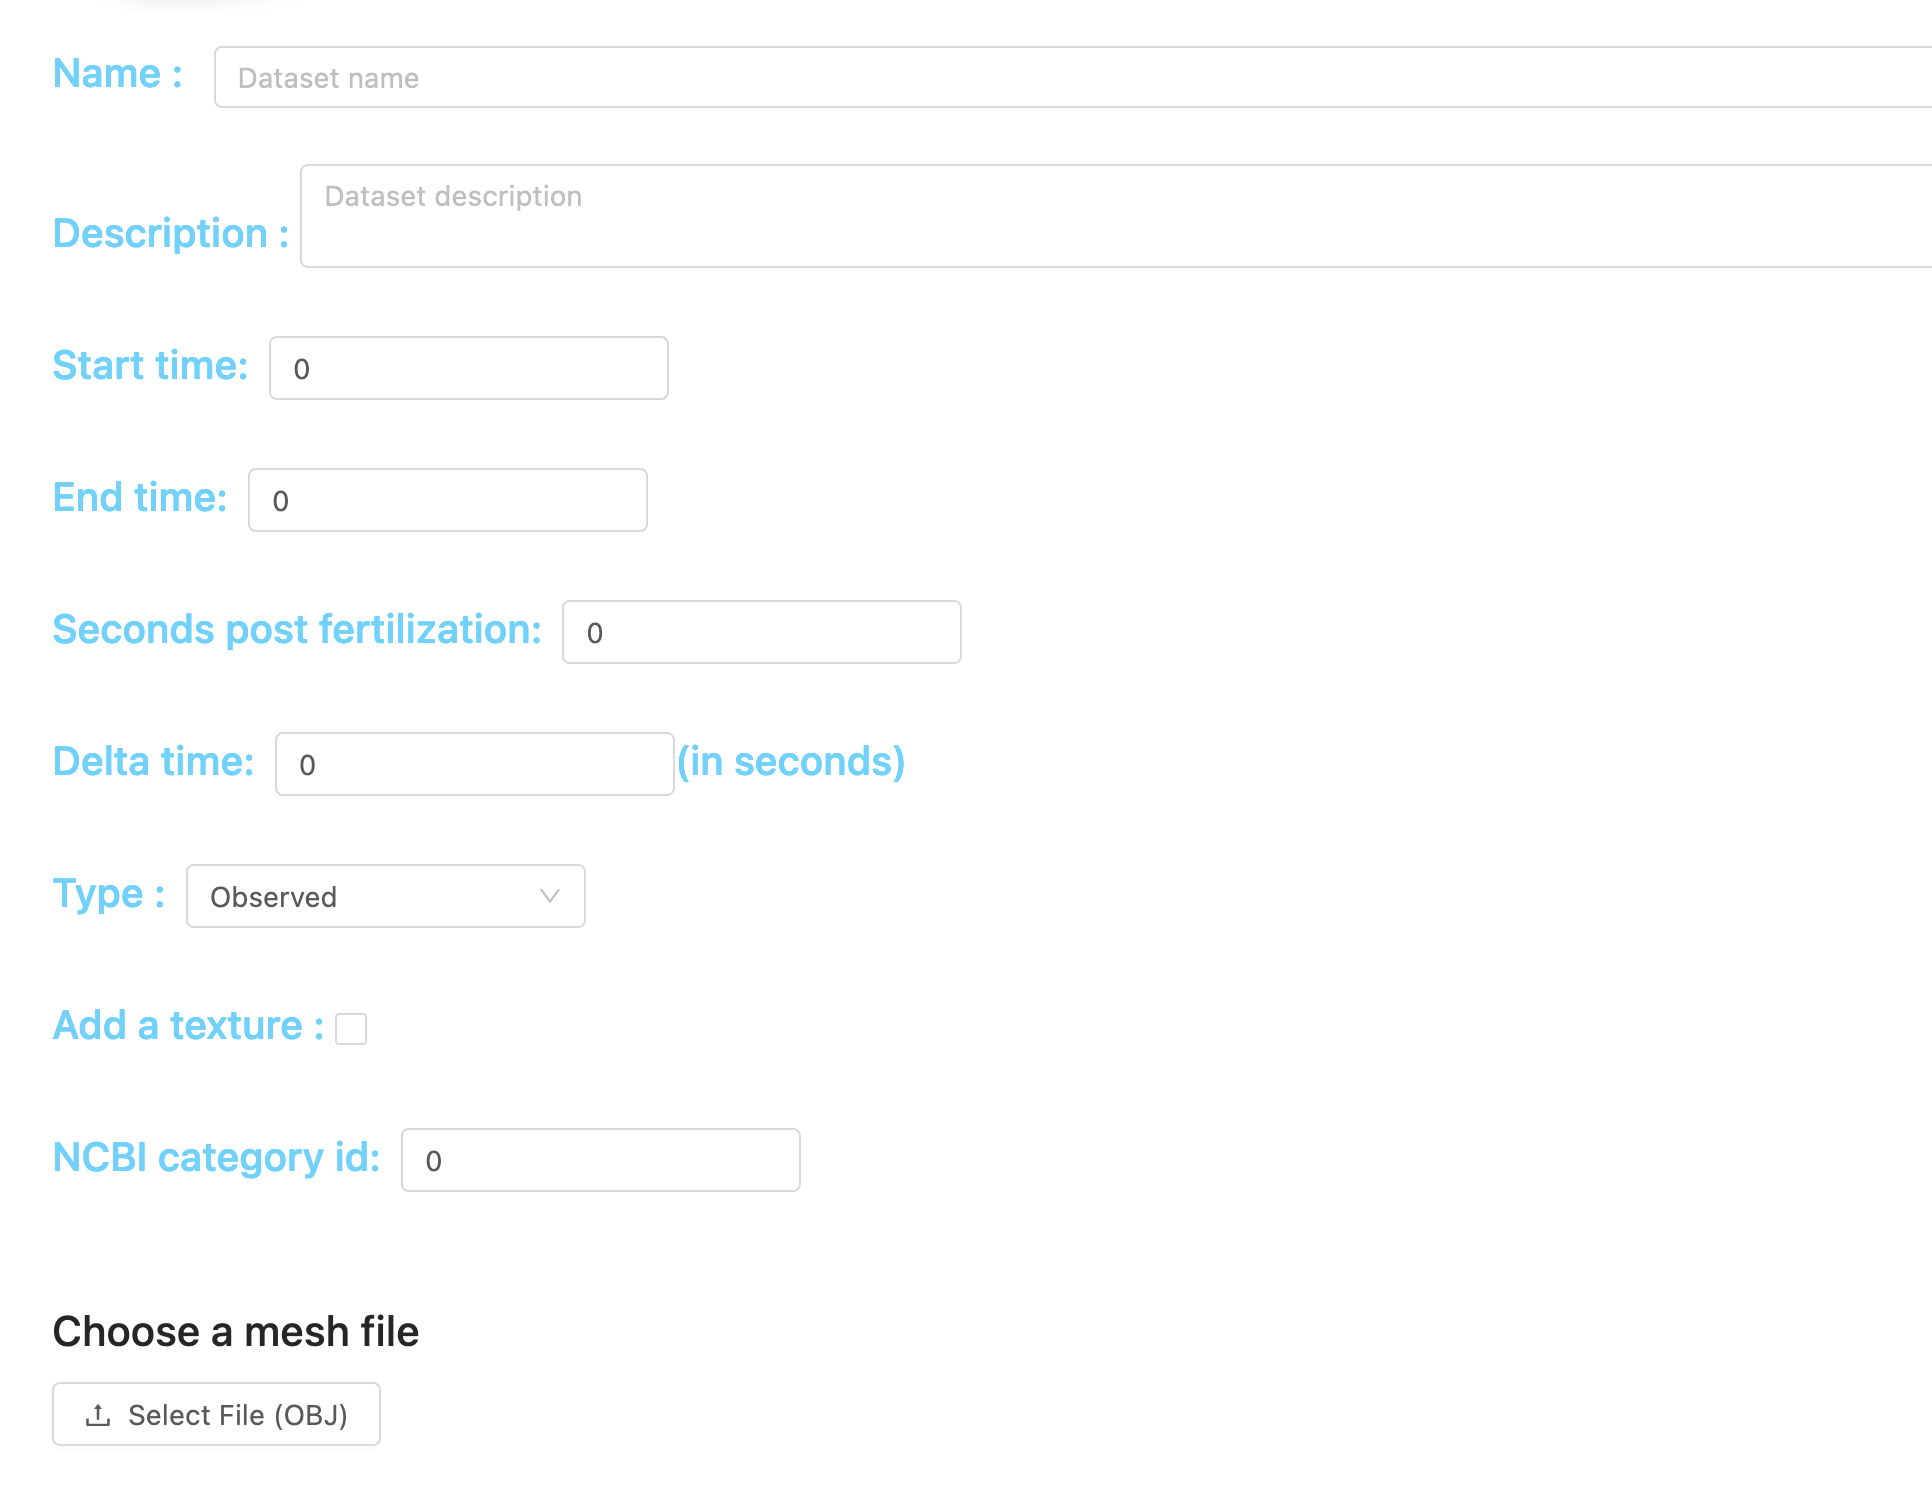 | Name : Name of the dataset
Description : Description of the dataset
Start time : First time point of the dataset
End time : Last time point of the dataset
Start time post fertilization : For biological data, time in seconds of the first time point after fertilization
Delta time : Delta time in seconds between 2 time points
Type : Type of the dataset :
- Observated : type adapted to imaged data (scientific , natural , ... )
- Drawn : type adapted to drawn data (manually generated)
- Simulation : type adapted to data automatically generated
NCBI category ID : For biological data, specie indentifier in NCBI taxonomy database
|
When the field are ready, you will have to click on the mesh file upload button
 And you can press the create dataset button
#### Using an exported dataset
To import a dataset using an exported dataset, head to this link : https://morphonet.org/dataset-import
And you can press the create dataset button
#### Using an exported dataset
To import a dataset using an exported dataset, head to this link : https://morphonet.org/dataset-import
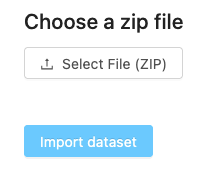 Click on the button and pick a dataset archive already exported before, and than press import
It will take some time , please do not leave the web page
#### Using the API
Here is the link of to the documentation of MorphoNet Python API , to upload more complex data : https://morphonet.org/help/morphonetnet/index.html#manage_meshes
#### Using the application
You can upload your data directly from the application. A procedure is detailled here : https://morphonet.org/help/application/index.html#upload_dataset
Click on the button and pick a dataset archive already exported before, and than press import
It will take some time , please do not leave the web page
#### Using the API
Here is the link of to the documentation of MorphoNet Python API , to upload more complex data : https://morphonet.org/help/morphonetnet/index.html#manage_meshes
#### Using the application
You can upload your data directly from the application. A procedure is detailled here : https://morphonet.org/help/application/index.html#upload_dataset
After being deleted , the dataset will be moved to the bin for 30 days, and than will be erased completely after this time. You can restore it from the bin here : https://morphonet.org/userbin
Export a dataset
When you are the owner of a dataset on MorphoNet, you will be able to export the complete dataset as an archive, including properties and metadata. You have to click this button, in the dataset description page *button for export* The export will take some time to compute, please do not leave the page until the download start automatically. Later : you will be able to filter the data you want to exportCreate a dataset
To be able to create a dataset, multiple choices are possible : #### From the upload page This choice will be used if you already have the 3D object for a dataset of one time point. Head to the dataset webpage , and than click on the upload button and than click on the upload button
You will be redirected to the upload page
| Form | Explanation |
| --- | --- |
| | Name : Name of the dataset Description : Description of the dataset
Start time : First time point of the dataset
End time : Last time point of the dataset
Start time post fertilization : For biological data, time in seconds of the first time point after fertilization
Delta time : Delta time in seconds between 2 time points
Type : Type of the dataset :
- Observated : type adapted to imaged data (scientific , natural , ... )
- Drawn : type adapted to drawn data (manually generated)
- Simulation : type adapted to data automatically generated
NCBI category ID : For biological data, specie indentifier in NCBI taxonomy database
| When the field are ready, you will have to click on the mesh file upload button
And you can press the create dataset button
#### Using an exported dataset
To import a dataset using an exported dataset, head to this link : https://morphonet.org/dataset-import
Click on the button and pick a dataset archive already exported before, and than press import
It will take some time , please do not leave the web page
#### Using the API
Here is the link of to the documentation of MorphoNet Python API , to upload more complex data : https://morphonet.org/help/morphonetnet/index.html#manage_meshes
#### Using the application
You can upload your data directly from the application. A procedure is detailled here : https://morphonet.org/help/application/index.html#upload_dataset